

How To Change Start Menu Background Windows 8.1
Lesson 7: Personalizing Your Kickoff Screen
/en/windows8/using-the-search-feature/content/
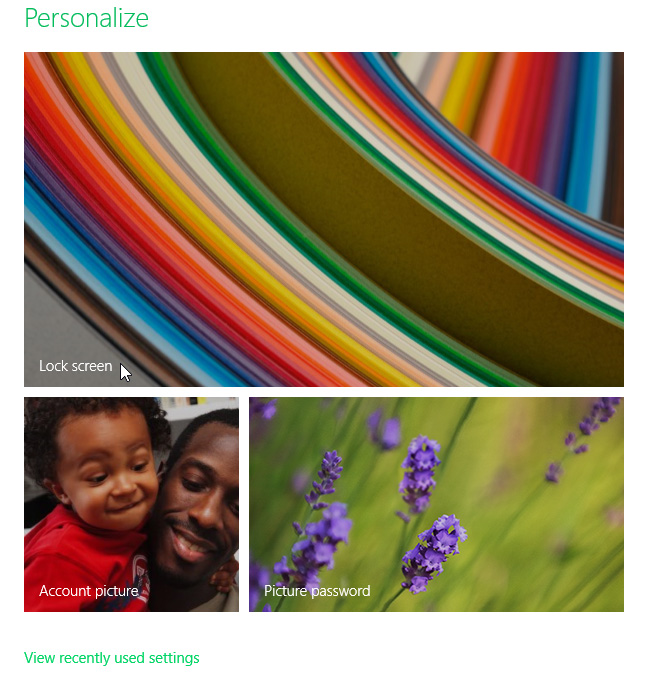
Personalizing your Start screen
 Personalizing the Starting time screen
You'll probably spend a lot of time on your Start screen, so you may want to personalize it so that it suits your taste. In this lesson, nosotros'll bear witness you several different ways to personalize it, including changing the background prototype and color, rearranging apps, pinning apps, and creating app groups.
To modify your Starting time screen background:
- Hover the mouse in the lower-correct corner to open the Charms bar, and and so select the Settings charm.
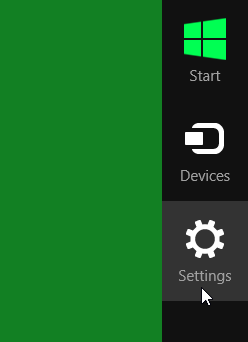 Selecting the Settings charm
 - Click Personalize.
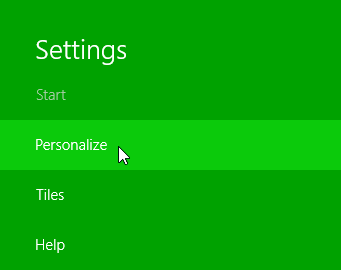 Clicking Personalize
 - Select the desired background image and color scheme.
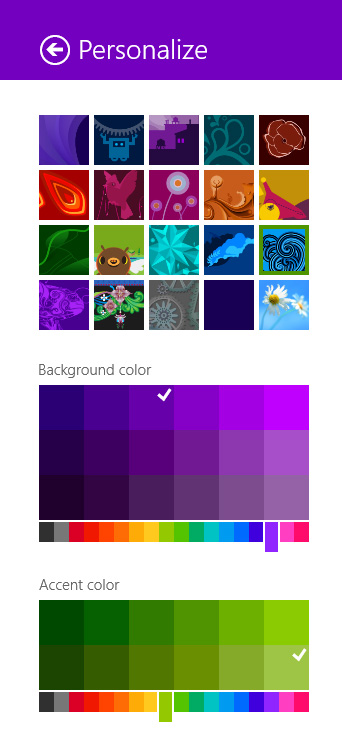 Irresolute the Kickoff screen background
To modify your lock screen picture:
- Hover the mouse in the lower-correct corner to open the Charms bar, and then select the Settings charm.
- Click Modify PC settings.
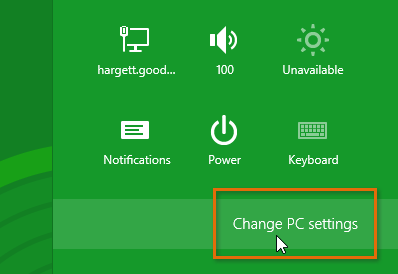 Clicking Modify PC settings
 - Select Lock screen near the meridian of the screen.
 Clicking Lock Screen
 - Select the desired pic from the listing of thumbnails. Alternatively, you can click Browse to select ane of your own pictures.
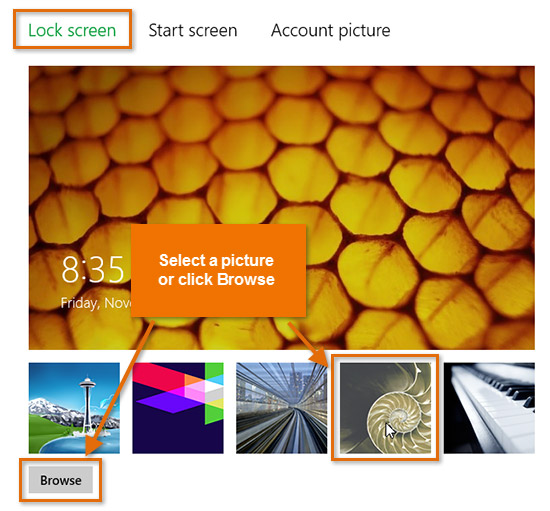 Selecting a lock screen moving picture
The lock screen volition appear whenever your computer is locked, which happens automatically after a few minutes of inactivity. You can besides lock your computer past clicking your account name and selecting Lock.
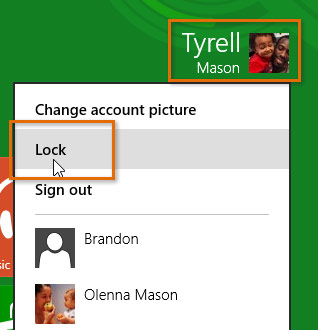 Locking the figurer
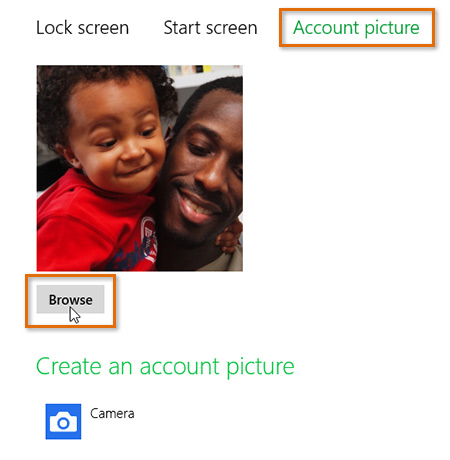
To modify your business relationship picture:
- Hover the mouse in the lower-right corner to open the Charms bar, and and so select the Settings charm.
- Click Change PC settings, and then select Account pic.
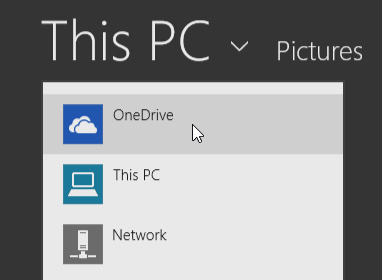
- Click Browse.
 Changing the account picture
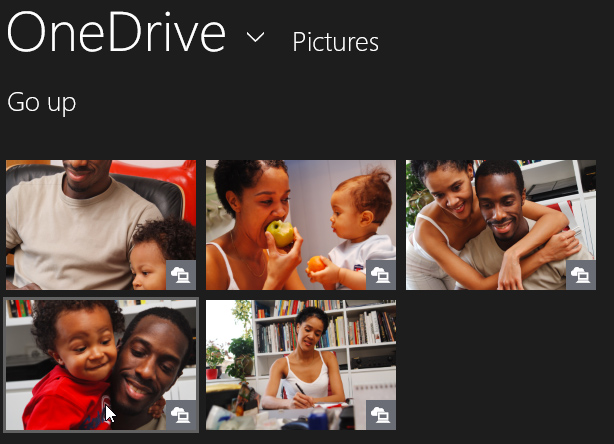
 - A listing of folders will appear. Select the desired photo on your computer, or click the drop-down pointer at the top of the screen to select a different location. In our example, we'll add a photo from our OneDrive.
 Navigating to the desired folder
 - When you lot take selected a photo, click Choose epitome.
 Selecting an image
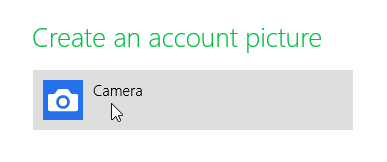
If your calculator or tablet has a congenital-in photographic camera, you tin can click Camera to accept a motion picture of yourself.
 Clicking the Camera button
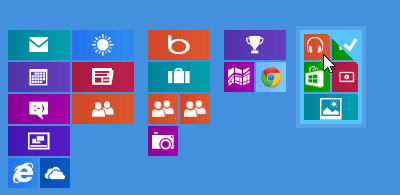
Customizing your Start screen apps
If you lot don't like the way your apps are bundled on the Start screen, you lot can rearrange them by moving them wherever you want. You may also find that the animated live tiles are too distracting, and you can hands turn them off and then they will display a apparently groundwork with no animation.
To move an app:
- Click, agree, and elevate the app to the desired location.
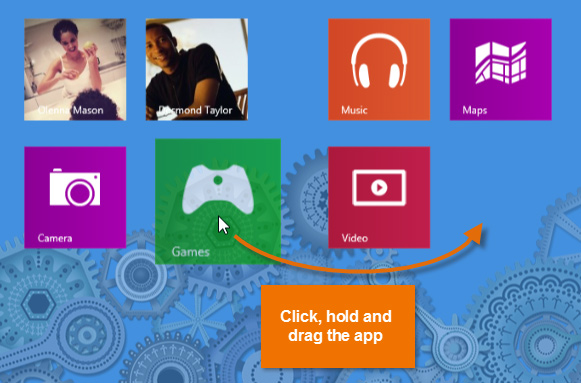 Moving an app
 - Release the mouse. The app will move to the new location.
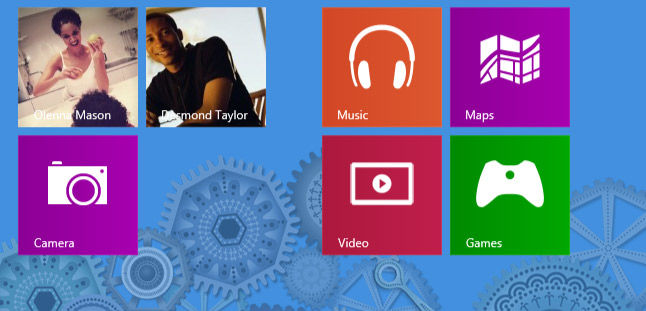 The app in its new location
To turn a alive tile off:
- Correct-click the app you want to change.
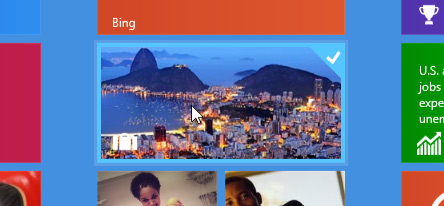 Right-clicking a live tile
 - A toolbar will appear at the bottom of the screen. Click Plough alive tile off, and the tile will change to a patently background.
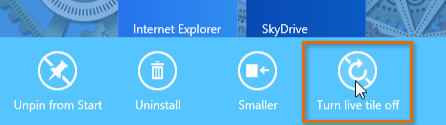 Turning a live tile off
Pinning apps to the Beginning screen
By default, the Start screen doesn't show all of the apps on your calculator. However, it's easy to pivot your favorite apps to the Starting time screen so you can open up them quickly.
To pin an app to the Outset screen:
- Click the arrow in the bottom-left corner of the Starting time screen to view all of the apps installed on your computer.
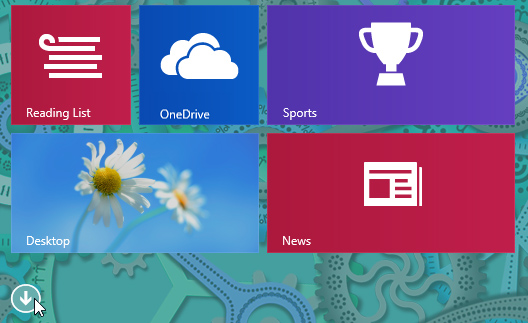 Going to All Apps
 - Locate and correct-click the desired app.
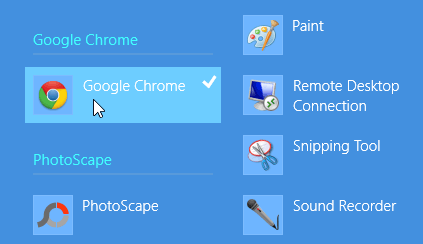 Correct-clicking an app
 - At the lesser of the screen, click Pivot to First.
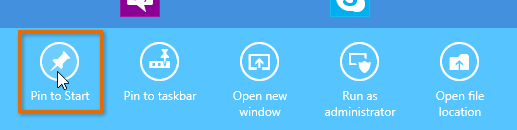 Pinning an app to the Start screen
 - Click the lower-left corner to render to the Get-go screen. Your app will at present appear on the Beginning screen.
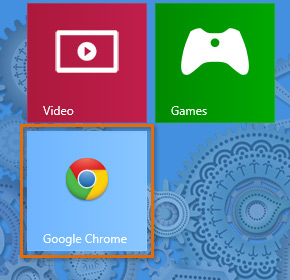 The pinned app
To unpin an app from the Start screen:
- From the Kickoff screen, correct-click the desired app.
 Right-clicking an app
 - At the bottom of the screen, click Unpin from First. The app will disappear from the Start screen.
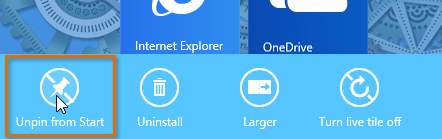 Unpinning an app from the Kickoff screen
Creating app groups
To further organize your apps, you tin can put related apps into groups. You lot tin can also name your groups, and each group will display its name at the meridian.
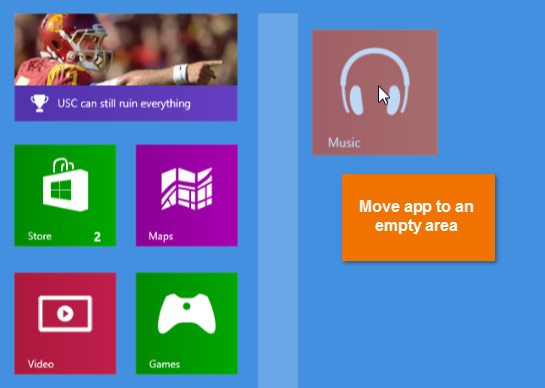
To create a new app group:
- Click, hold, and drag an app to the correct until information technology is on an empty area of the Start screen.
 Moving an app
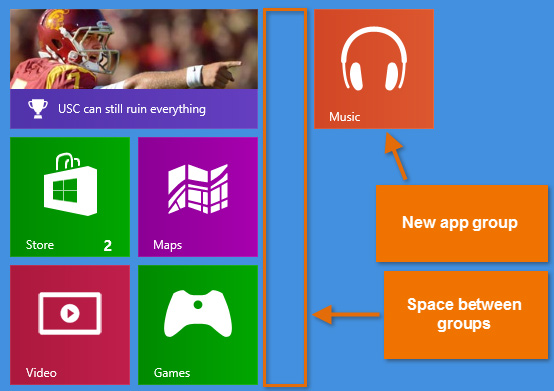
 - Release the mouse. The app volition now be in its own app group, and yous should see a space between the new group and the other groups. This space helps to visually divide the different groups.
 The new app grouping
 - You can now motility more apps into the new app group.
 Adding apps to the new group
To proper name an app group:
- Right-click any app on the Start screen, and then click Name group to a higher place the desired app group.
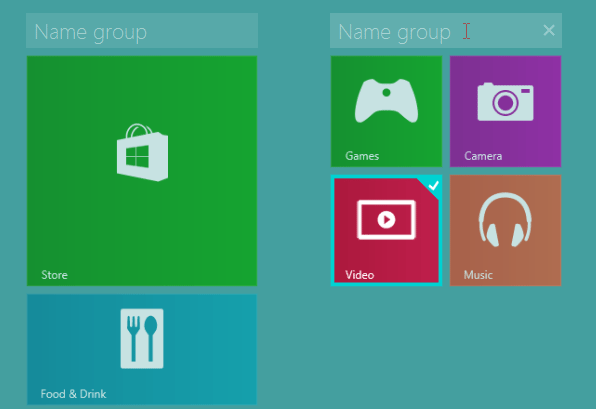 Clicking Proper name Grouping
 - Type the desired proper noun. Shorter names usually work best, so try to employ a unmarried discussion if possible. When you're done, printing Enter.
 The new group name
 - Click anywhere on the First screen to return to the normal view. The new name volition appear to a higher place the app group.
/en/windows8/getting-started-with-the-desktop/content/
Source: https://edu.gcfglobal.org/en/windows8/personalizing-your-start-screen/1/
Posted by: albashignigho.blogspot.com
0 Response to "How To Change Start Menu Background Windows 8.1"
Post a Comment